Post
Creating Your Own Oracle: Tips and Steps for Those Who Want to Design and Illustrate Their Own Deck
Oracles are immensely popular card decks that have captivated many for centuries. If you’re a tarot or oracle enthusiast and wish to create your own personalized deck, it’s entirely possible! In this article, we’ll explore the steps and tips for creating your very own oracle.
Why Create Your Own Oracle?
There are many reasons you might want to create your own oracle. Here are a few examples:
- You want a truly unique deck with a graphic style that resonates with you.
- Offering an original, handmade gift to a friend or family member.
- You’re an artist and want to apply your talents to illustrating a card deck.
- You’re passionate about oracles and creating your own deck is an exciting creative challenge.
- Adding a modern touch to tarot.
- You’re not fond of existing designs and prefer to create your own.
Whatever your motivation, creating your oracle is an exciting project! Follow our guide to make yours.
Steps to Create Your Oracle
1. Define the Number and Types of Cards
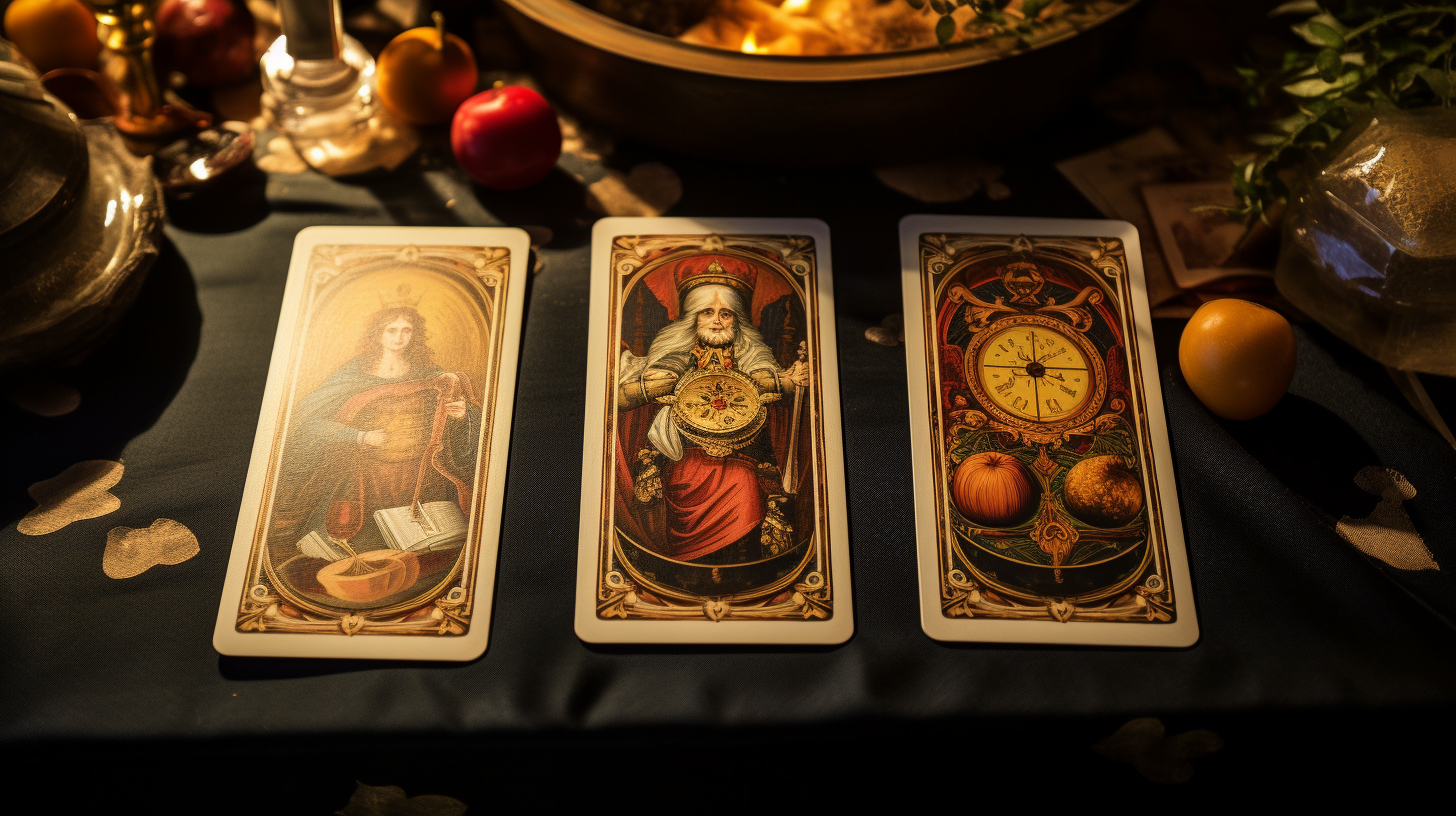
The first step is to decide how many cards you want in your deck. A classic tarot has 78 cards, but there’s no strict rule for oracles.
The more cards you have, the finer the oracle’s response will be, so consider having at least thirty cards.
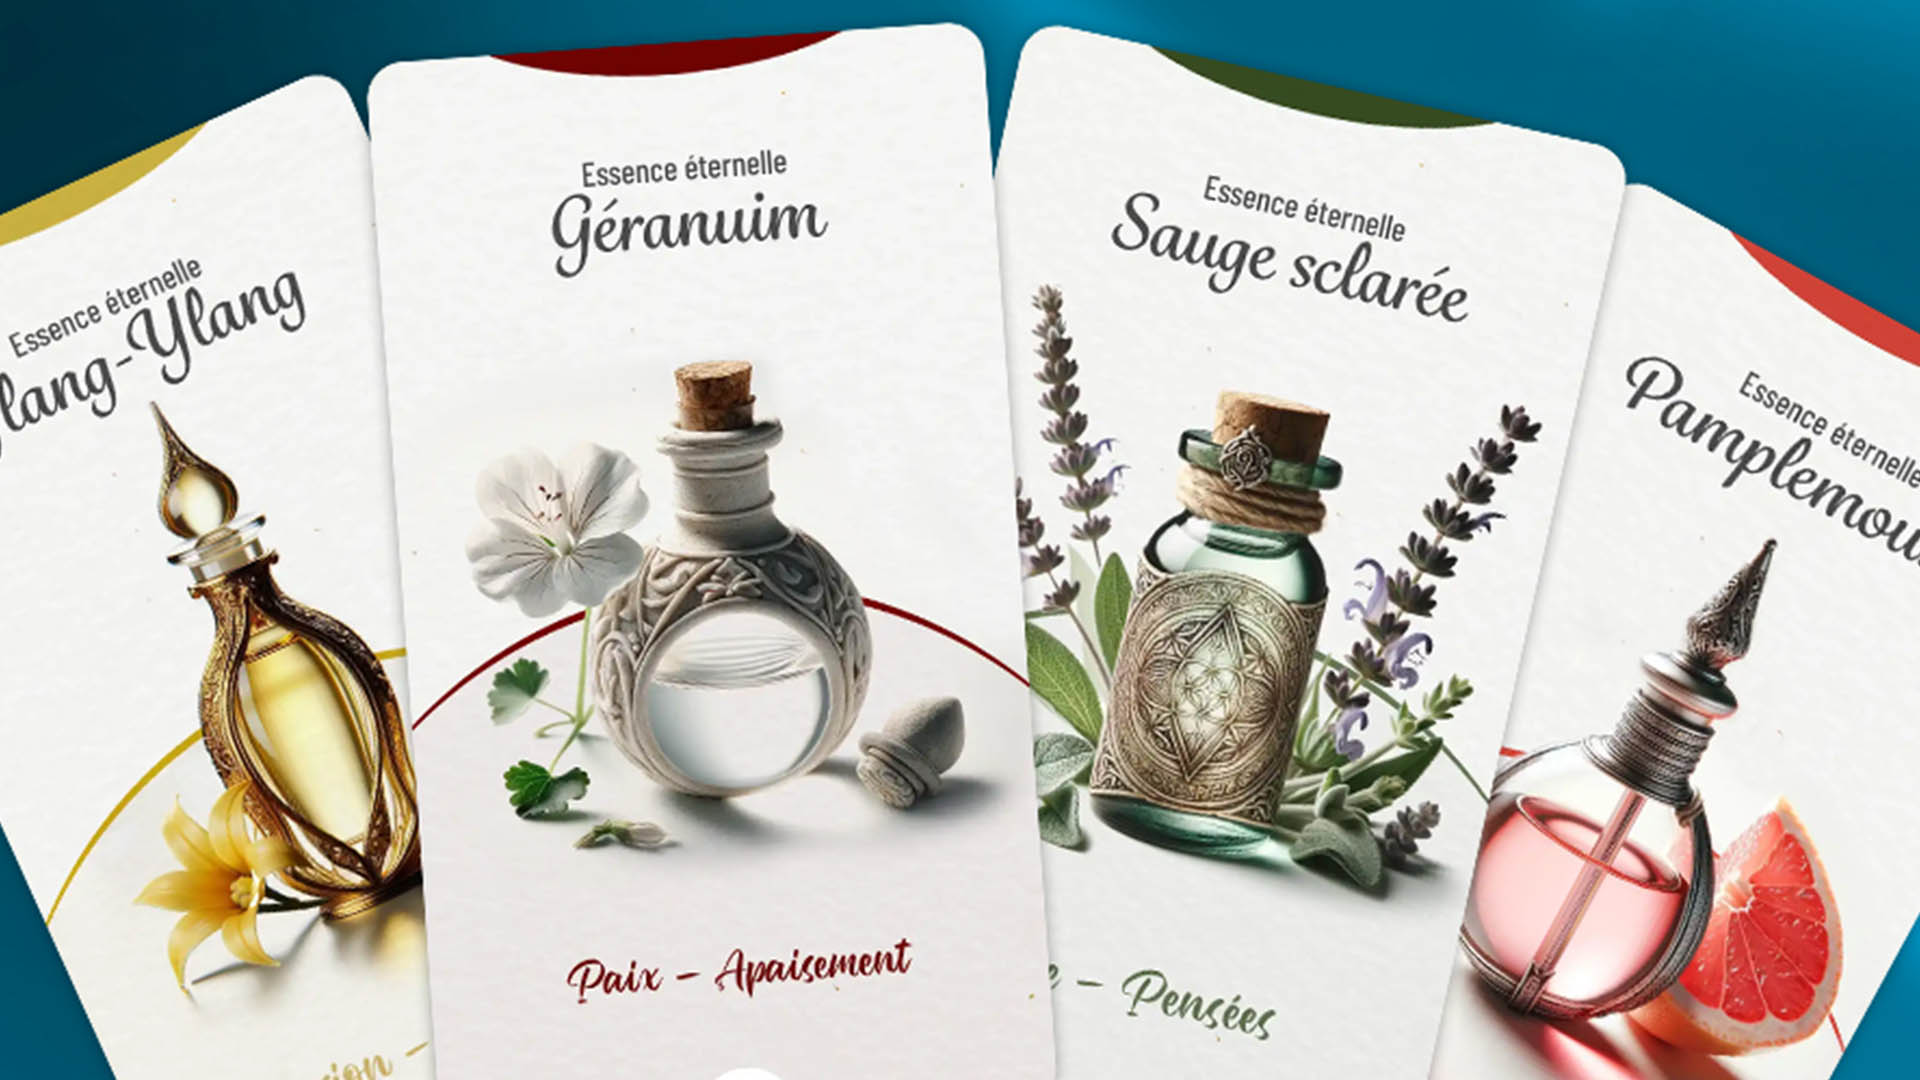
2. Draw the Card Motifs
Once your configuration is defined, you can start drawing the motifs. This is the most creative and fun part! For each card, make a preliminary sketch, perhaps with a pencil.
Here are some tips for creating beautiful motifs:
- Draw inspiration from traditional tarot symbols (wands, pentacles, swords, cups) but revise them in your own style.
- Play with colors, shapes, graphic styles.
- Represent scenes and characters, or just symbols.
- Maintain consistency in the graphic style of each suit.
- Clearly number the major arcana and visually hierarchize the suits.
3. Digitize the Sketches
Once your sketches are complete, you need to digitize them for computer editing. You can either use a flatbed scanner or photograph your drawings.
The scan or photo should be high quality, at least 300 dpi for a printable oracle. Save each card motif in a separate image file (jpeg or png).
4. Retouch Images on the Computer
Open your image files in a vector drawing (Illustrator, Inkscape) or photo editing software (Photoshop, Gimp).
Important: Decide on your card format now, as it’s crucial for printing costs if you decide to launch a small production. Standard sizes are more cost-effective at the printer.
Now you can:
- Clean and enhance your sketches.
- Add colors, textures, and effects.
- Crop to obtain a standard card format.
- Add names and numbers.
Take the time to properly retouch each image for a professional finish.
5. Print a Test Version
Before printing your final deck, it’s recommended to print a test version to ensure everything is okay.
Print your cards on plain paper in a single-sided format. Check that the motifs are centered, the colors are accurate, and there are no errors.
Correct your files if necessary before proceeding to the final print.
6. Print the Final Deck
For the final print, have your cards printed by a professional printing service. Here are the recommendations:
- Double-sided printing with a standard back for all cards.
- Thick paper cards (at least 300 g/m2), glossy or matte laminated.
- Finishes: rounded corners, selective varnish to protect.
Request a sample before mass printing to validate the quality.
Print at least two copies: one for yourself and one to give away!
7. Design the Packaging
To complete your deck, you also need to create packaging for the cards. You can create, for example:
- A cardboard sleeve.
- An engraved metal box.
- A wooden case.
- A fabric pouch
Choose a material and form that match the spirit of your game. Don’t hesitate to customize your packaging for a 100% personal touch.
And there you go, ready to enjoy exciting games with your handmade oracle! Have fun!
Tips for Successfully Creating Your Personalized Oracle
To successfully complete this exciting project, here are some additional tips:
- Take the necessary time, do not set a time limit. It can take several months.
- Start with some trial sketches to find the graphic style you like.
- Define a coherent graphic charter across all cards.
- Use vector drawing software for easier modifications.
- Print several decks to give as unique gifts to your loved ones.
- Keep track of different versions during your creation to see the evolution.
- Have fun creating the visuals, while staying true to traditional symbols if you wish.
- Seek feedback from other creators for a review of your test game.
By following these steps and tips, you can create the oracle of your dreams! It’s a beautiful creative project that requires time and patience, but the result is worth the effort. So, go ahead and enjoy designing your own tarot universe!